
Spring Pastels: Stamping Decal Using L’Oréal Les Blancs Collection: March Polish Party
I’ve been wanting to do a stamping decal for a while now. I have used a similar method to more easily put a hand drawn image on my nails, which is how I did my Roobarb & Custard nails. But I’ve not done it with a stamp yet.
I had been searching through my stamping plates to find a suitable image that could be coloured in and then I saw a beautiful manicure by Reinovate nails. She has used a honeycomb image from a Mo You London plate, but I knew I had a similar image on the newest Bundle Monster plates (the create your own 2013 set). It’s a perfect image for filling in for this method.
I’ve used the new L’Oréal Spring 2014 collection – Les Blancs – to fill in the sections. The collection comprises four gorgeous, very pale pastels, in yellow (Lemon Meringue), peach (Peach Negligée), lilac (Nouvelle Vague) and green (Pistachio Dragée). It was quite time consuming and fiddly to paint all the hexagons, and the pastels probably aren’t the best polishes to use for this as they are very pale, making it quite difficult to make out the shapes.
Anyway, it’s all pastelly (no, it’s not a word … I made it up) and fresh, so I thought it was apt for this month’s Polish Party manicure, the theme for which is spring.
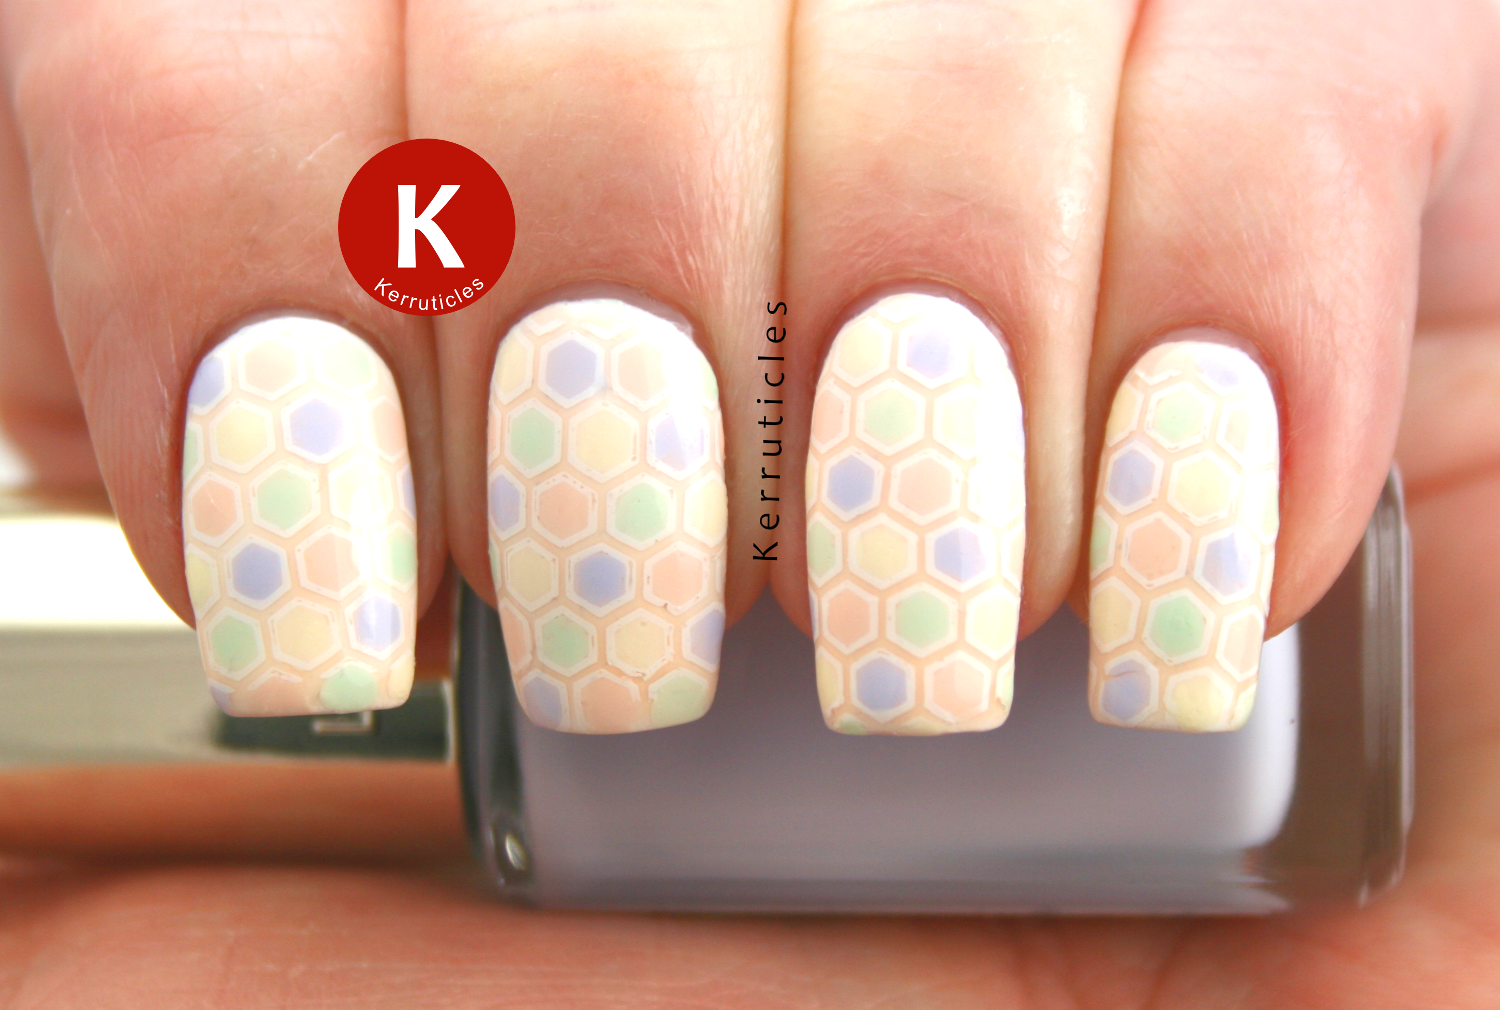
The base for the decal is 2 coats of Barry M Nude over 2 coats of Sinful Colors Snow Me White. I tried this at first using just white and it didn’t work at all well, but I’d only done it on one finger, so was able to rectify my mistake quite easily.
After I’d painted the second coat of Nude, I waited for it to dry but not harden, then placed the decal on. I pressed it down firmly, almost stretching it to the nail in places. I managed to rip the one for the little finger! Then I trimmed off the excess and used acetone and a clean up brush to complete the job.
Here are the other Polish Party manicures for this month:
[inlinkz_linkup id=386252 mode=1]
- Base colour: two coats of Sinful Colors Snow Me White, then two coats of Barry M Nude
- Stamping plate: Bundle Monster BM-422
- Stamping polish: Konad special white
- Colours: L’Oréal Color Riche Lemon Meringue, L’Oréal Color Riche Pistachio Drageé, L’Oréal Color Riche Peach Negligée and L’Oréal Color Riche Nouvelle Vague
- Top coat: Glisten & Glow HK Girl
– – – – –
All manicure images are copyright to Kerruticles unless otherwise mentioned.
Comments
It was definitely worth the effort it looks soo good! x
These look great and definitely remind me of spring! The stamping decals have worked really well! 🙂
Pastelly should be a word – it just makes sense!
But in all seriousness, this look turned out really good! Plus now you know how to do it next time with no problem at all. It’s a great spring look!
These are beautiful <3 It's so soft, and still manages to be subtle despite the somewhat busy pattern.
Plus The colors remind me so much of macarons <3
This is very lovely!
absolutely perfect!! love it, love it!! 😀
:*
Emy :: Artemilly
I love these Claire! Subtle but really pretty too. I really should try the decal technique one of these days.
I LOVE this manicure!
I’ve been searching for the instructions on how you made the nail decals using a stamping plate, but can’t find anything. I’m very curious to know how you did it. Thanks!!
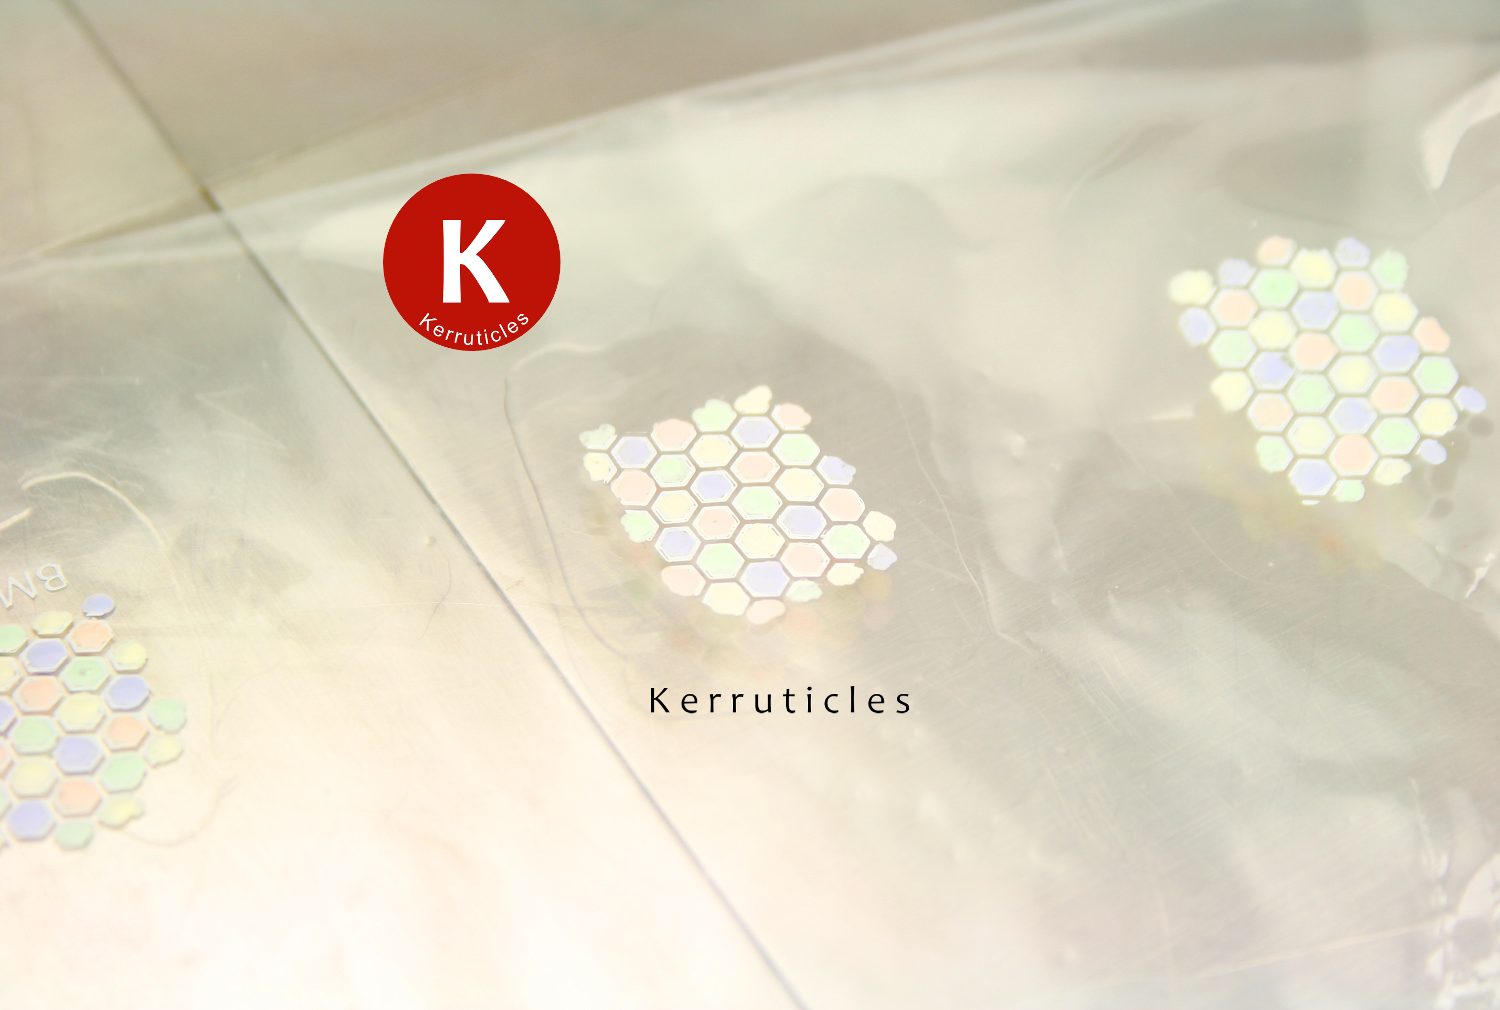
I painted some top coat onto a plastic bag (I used a wrapper for a greetings card, so that sort of tougher, more rigid plastic), then when it was dry, I stamped the image onto it. Then I filled in the sections using a tiny nail art brush and the different polishes. I waited for it to dry (several hours is best), then peeled it off the bag using tweezers and applied it to my nail, which had dry (but not fully hardened) polish on it. I used acetone and a clean up brush to remove the over-sized edges and generally clean it up, then added a coat of top coat to ensure it stayed in place.
Hope that helps!
Yes! Thank you so much.
That must have taken so much patience to color in all those hexes!
I recently did a stained glass manicure, which took forever to work on my right hand. Next time I’ll try it as decals. That’s bound to go faster!